Introduction:
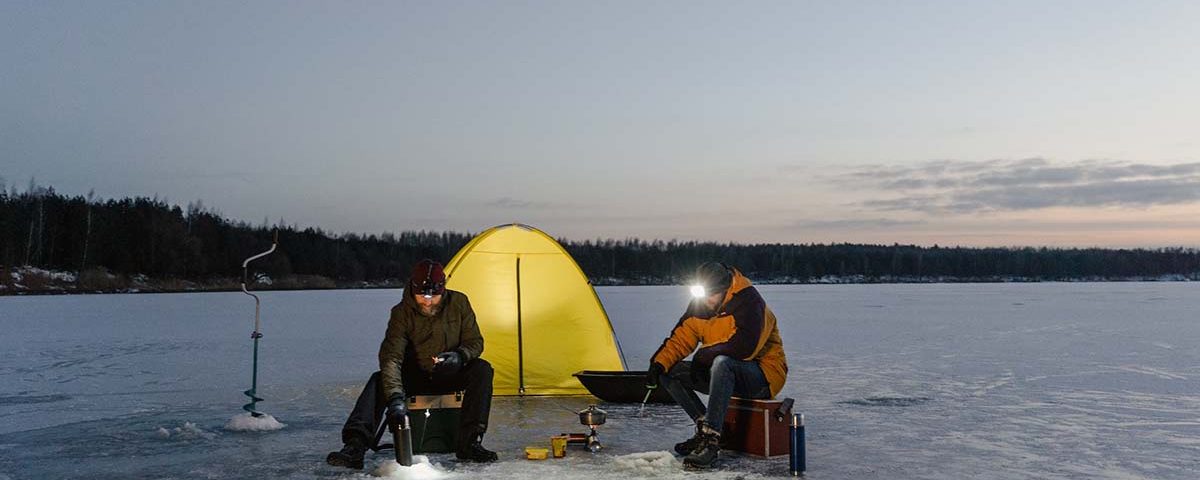
Ice fishing can be a thrilling and unique way to experience the great outdoors, but it can be intimidating for beginners. In this article, we'll provide all the tips and tricks you need to make your first ice fishing trip a success. From choosing the right gear to finding the best spots and techniques for landing your dream catch, we've got you covered. So grab your ice auger and let's get started!
Section 1: Safety Tips for Ice Fishing
As mentioned in the opening, safety is of the utmost importance when it comes to ice fishing. After all, you're venturing out onto a frozen body of water, and even the most experienced anglers can find themselves in dangerous situations if they're not careful. Here are a few essential safety tips to keep in mind before heading out on the ice:
Check the ice report: Before you set out, it's crucial to check the latest ice report for the body of water you'll be fishing on. This will give you an idea of the thickness and stability of the ice, as well as any potential hazards or areas to avoid. In general, the minimum ice thickness for safe ice fishing is 4 inches, but this can vary depending on the type of water and the conditions.
Wear a floatation device: Even if you're a strong swimmer, it's a good idea to wear a floatation device when ice fishing. These devices can help keep you afloat if you fall through the ice, and they could potentially save your life. It's also a good idea to carry a spare set of warm, dry clothes in a waterproof bag, just in case you do end up in the water.
Bring an ice pick: An ice pick is a small, handheld tool with a sharp point that's designed to help you pull yourself out of the water if you fall through the ice. It's a good idea to keep one attached to your clothing or gear, so it's always within reach in case of an emergency.
Be mindful of your surroundings: As you move around on the ice, be mindful of your surroundings and take care not to put too much weight on any one area. Avoid walking on thin ice or areas with visible cracks or openings, and be sure to stay away from any obstacles or hazards that could cause you to trip or fall.
Dress appropriately: It's important to dress in layers when ice fishing, as the weather can change quickly and you'll want to be able to adjust your clothing as needed to stay comfortable. Wear a base layer of moisture-wicking material to help keep you dry, followed by a layer of insulation, and finish with a waterproof outer layer. Wear a hat, gloves, and warm socks to protect your extremities, and be sure to bring a pair of warm boots that are specifically designed for use on ice.
Section 2: Essential Gear for Ice Fishing
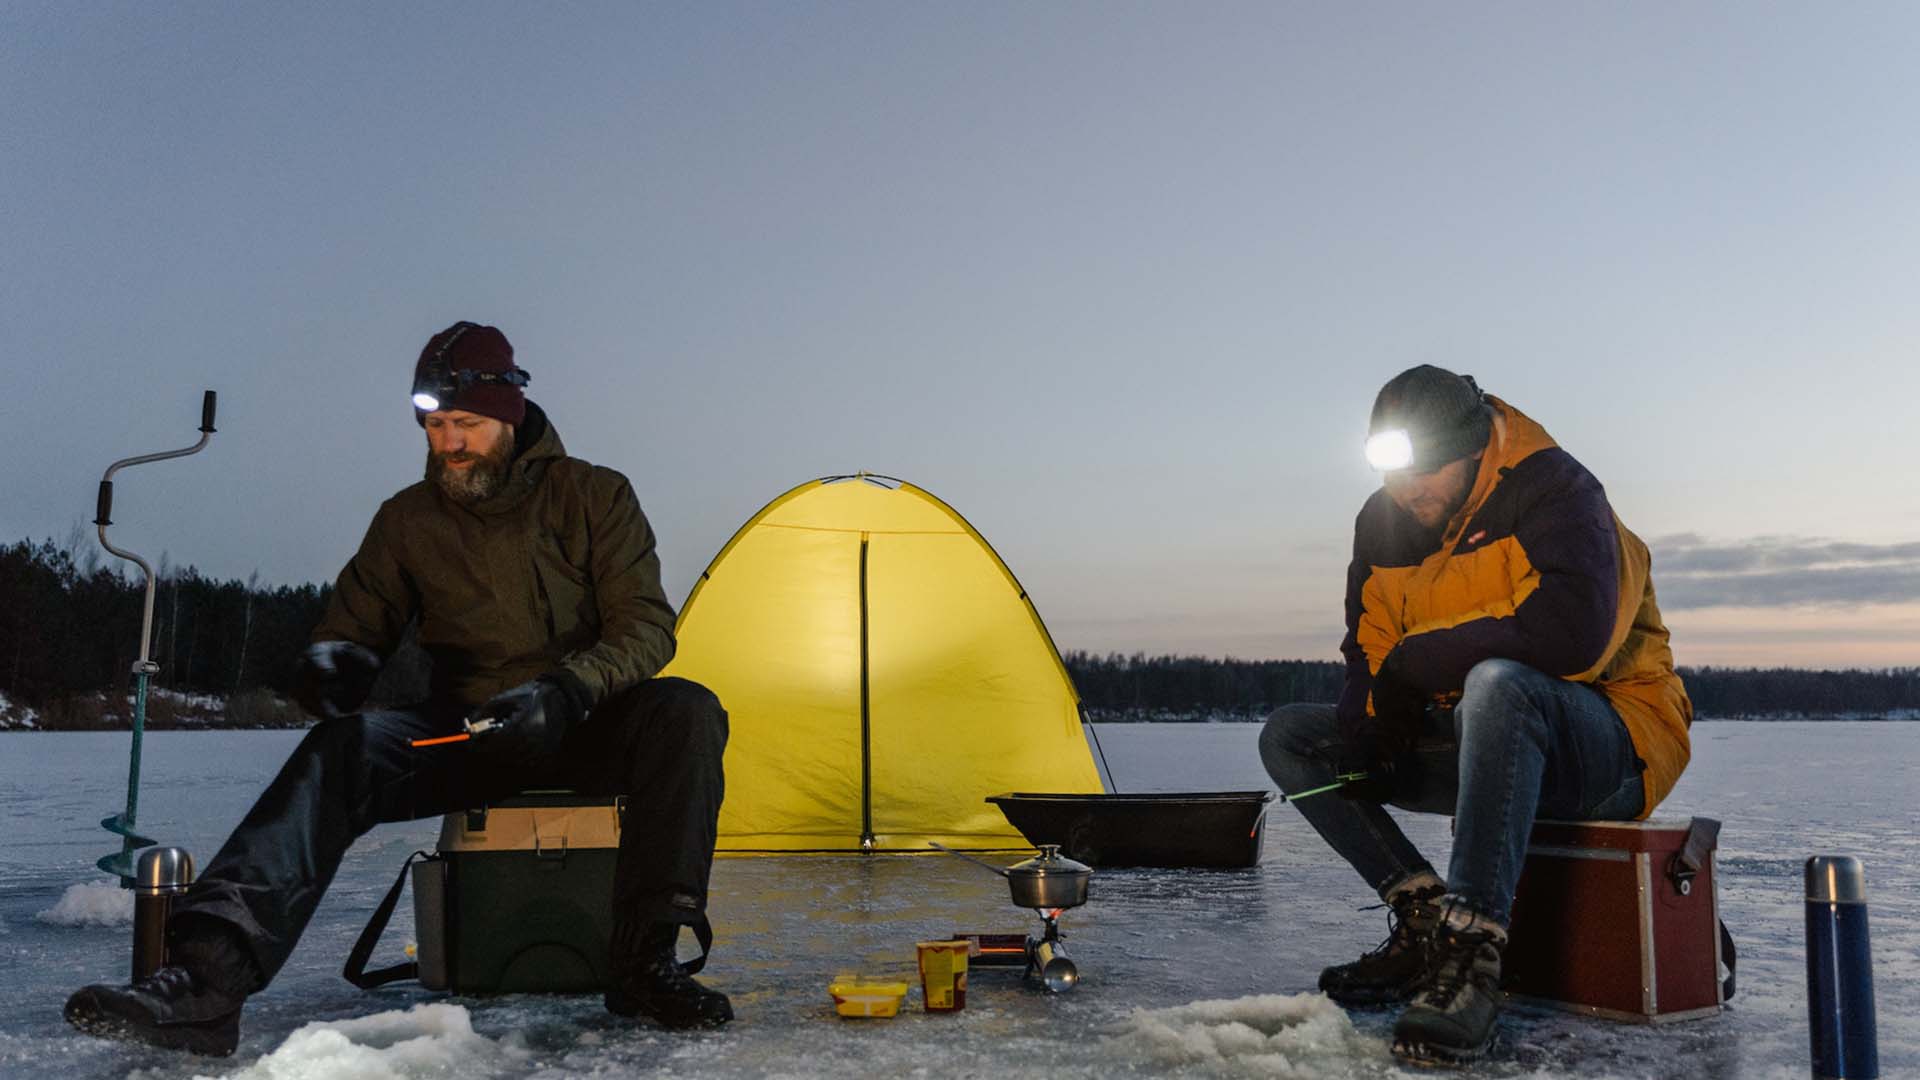
Once you've got your safety covered, it's time to focus on the gear you'll need to make the most of your ice fishing trip. While the specific gear you'll need will depend on the type of fish you're targeting and the body of water you'll be fishing on, there are a few essential items that every ice angler should have in their arsenal.
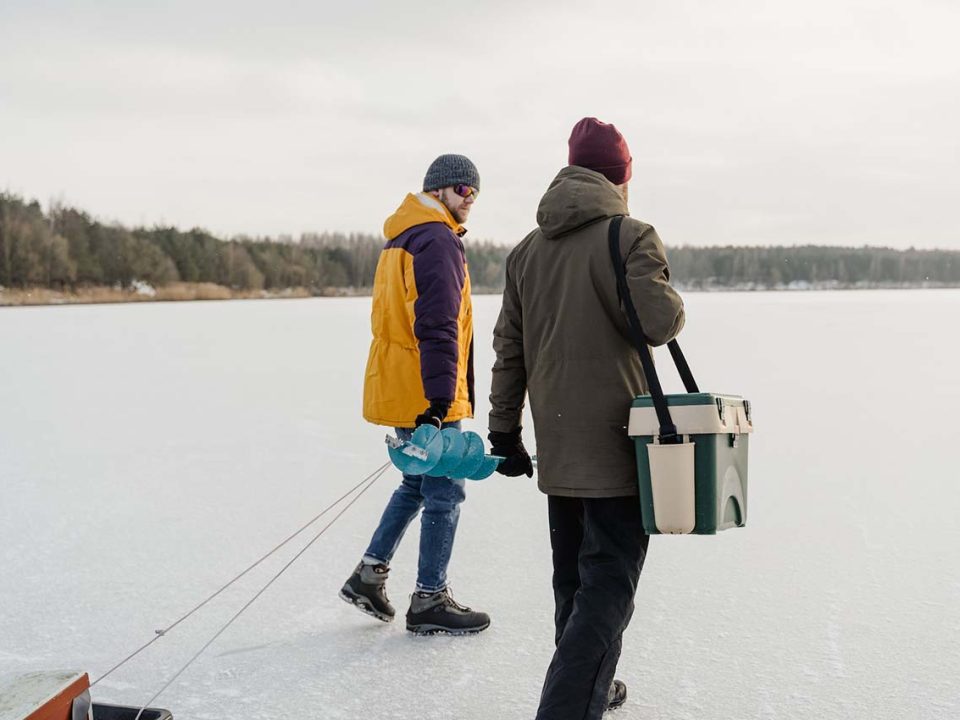
Ice auger: An ice auger is a tool that's used to create holes in the ice for fishing. There are several types of augers available, including hand-powered models and ones that are powered by gasoline or electricity. When choosing an auger, consider the thickness of the ice you'll be fishing on and the size of the holes you'll need to create. If you plan on fishing in areas with particularly thick ice, you may want to opt for a larger, more powerful auger.
Fishing rod and reel: The type of rod and reel you'll need for ice fishing will depend on the type of fish you're targeting. For smaller panfish like perch and bluegill, a lightweight rod with a sensitive tip and a small reel will work well. For larger species like pike and lake trout, you'll need a heavier rod with a more powerful action and a larger reel to handle the bigger fish.
Line and hooks: The type of line and hooks you'll need will again depend on the species you're targeting. The general rule with ice fishing is to use the smallest presentation, line and hook size you can get away with. For most species a small diameter fluorocarbon line (4-6 lb. test) is preferred and size #2 or #4 hooks will work well. For larger species, you can go with thicker diameter line if you’re targeting Pike, Trout, or other toothy critters. For bass, walleye and everything below, you’d be surprised how you can catch even large fish on ultra-light line.
Jigs and lures: Jigs and lures are an essential part of any ice angler's arsenal. Jigs and jigging spoons are the most commonly lure used for ice fishing, especially smaller ones weighing under ¼ ounce. 1/8 to 1/32 ounce jigs are the most commonly used. Like all lures, of course there are many different types of jigs and spoons available, including soft plastic jigs, metal, hair, feather, etc. If you’re just getting started, a simple ice jigging kit will offer you enough options to get you results. Experiment with different colors and weights to see which ones are working best on a given day.
Bait: Live bait is a popular choice for ice fishing, as it can be very effective in attracting fish. Common live baits include worms, wax worms/maggots, and minnows. Adding some live bait to a jig or jigging spoon (“Tipping”) can really make a big difference when ice fishing. If you're using live bait that require water, be sure to bring a bait bucket or container to keep it alive and fresh. Micro artificial baits, such as soft plastics with Gulp can also be effective, and they have the added benefit of not requiring maintenance or storage.
Tip-ups: Tip-ups are devices that are used to hold a fishing line in place while you wait for a bite. When a fish takes the bait, the tip-up will alert you with a flag or other signal, allowing you to reel in your catch. Tip-ups are an essential part of any ice fishing setup, as they allow you to fish multiple holes at once and keep an eye on your lines while you're busy with other tasks.
Ice fishing sled: An ice fishing sled is a handy tool for hauling all of your gear onto the ice. These sleds come in a variety of sizes and styles, and they can be used to transport everything from your tackle box and fishing rods to your bait, lures, and other gear. An ice fishing sled will help you move your equipment more easily and efficiently, and it will also help you conserve your energy for the actual fishing.
Other essentials: There are a few other items you'll want to bring with you on your ice fishing trip to help ensure a successful and comfortable outing. These include a seat or chair to sit on, hand warmers to keep your fingers toasty, a thermos of hot coffee or tea to warm you up, and snacks to keep your energy levels up. You'll also want to bring a waterproof bag or container to keep your valuables safe and dry, and a first aid kit in case of any emergencies. A flashlight or headlamp can be helpful for seeing in low light conditions, and a map or GPS unit can help you navigate and find your way around the body of water. Finally, make sure to take some pictures throughout the day of your catches, fishing buddies and also the winter surroundings. With these essentials in your arsenal, you'll be well-equipped to enjoy a successful and enjoyable ice fishing trip.
Section 3: Choosing The Best Ice Fishing Locations By Species
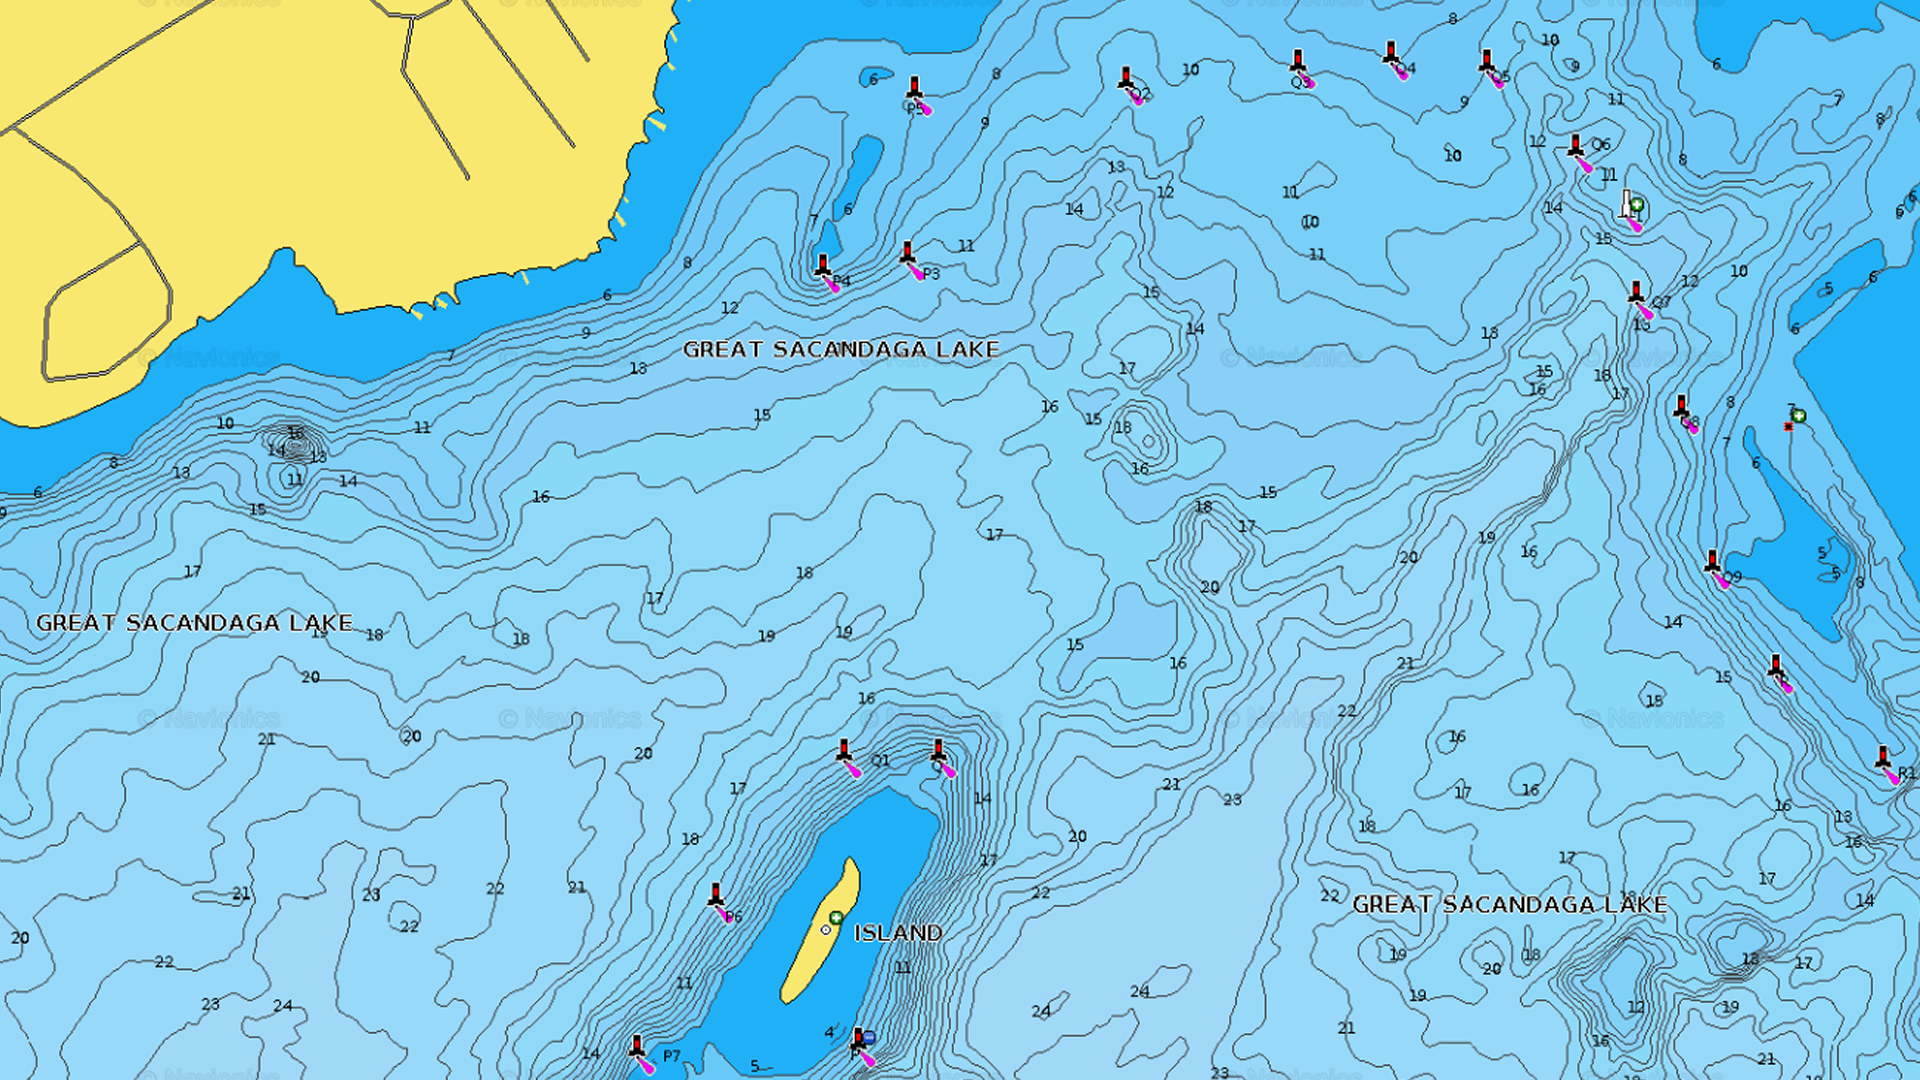
To choose the best areas for each species, it can be helpful to use topographical maps of the body of water where you'll be fishing. These maps can show you the location of submerged road beds, creek channels, weeds, structures, depths and contours of the body of water, and can help you identify areas that are likely to hold the species you're targeting.
- For perch and crappie, look for areas with a mix of shallow and deep water, as these species tend to move between different depths depending on the time of day and the availability of food. They are often found in water depths of 5-15 feet, and they are attracted to structure such as brush-piles, sunken logs, rocks, or weed beds.
- For panfish, look for areas with shallower water and plenty of structure, particularly weeds. These species tend to be found in water depths of 5-10 feet, and they are attracted to cover such as weeds, logs, or rocks. They are also often found near schools of baitfish, so look for areas where these smaller species are present.
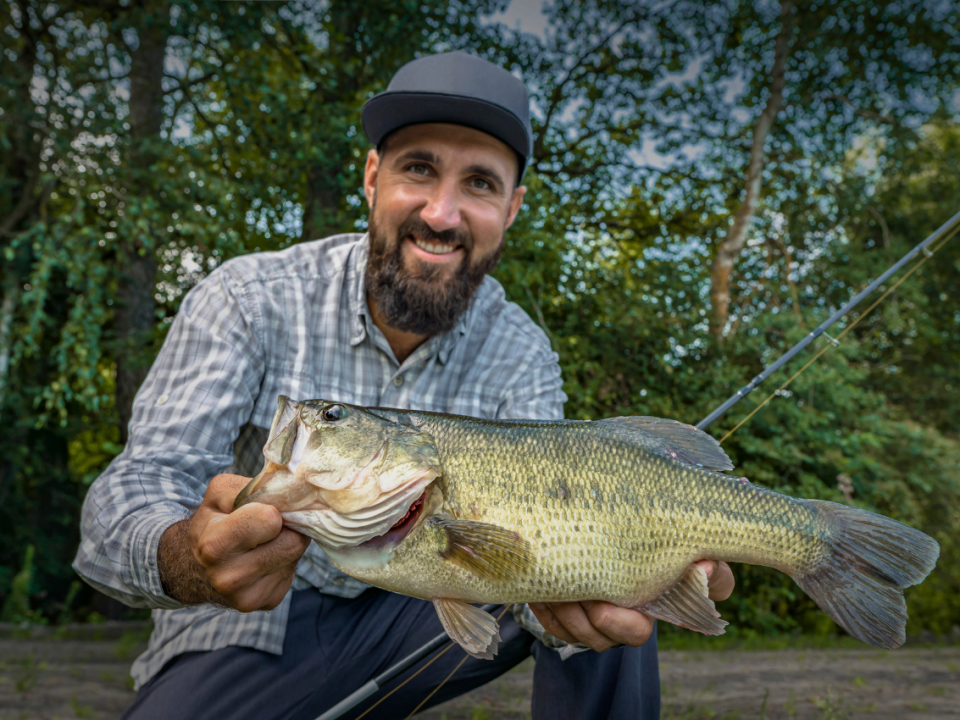
- For Largemouth & Smallmouth Bass, we’re focusing on limited areas that you can effectively target through the ice. Both species roam and follow open water baitfish, but tracking those fish down through an ice fishing hole is like trying to find a needle in a haystack.
- For smallmouth bass look for areas with deep water and plenty of structure like old road beds, creek bends, old house foundations, etc. Smallmouth tend to be found in water depths of 15-30 feet (sometimes even deeper), and they like to hold very tight to the bottom and cover. They can also be found suspending over the key structural features with an abundance of baitfish nearby, so look for areas where these smaller species are present.
- For largemouth bass, they can often be found not too far from the same places you’ll find panfish holding. Largemouth really love to be around weeds and rock. It’s not uncommon to even find them in pretty shallow water under the ice. Typically, they tend to be found in water depths of 15-30 feet, but don’t rule out water less than 15 feet especially when there is a lot of cover such weeds, rocks, sunken logs or brush piles.
In general, it's important to remember that fish can move between different depths and habitats depending on the time of day and the availability of food. To increase your chances of success, try fishing a variety of depths and areas, and be willing to move around if you're not getting bites. With a little bit of research and experimentation, you should be able to find the best areas for each species and have a successful ice fishing trip.
Section 4: Sonar Secrets - How to Find Fish Under the Ice
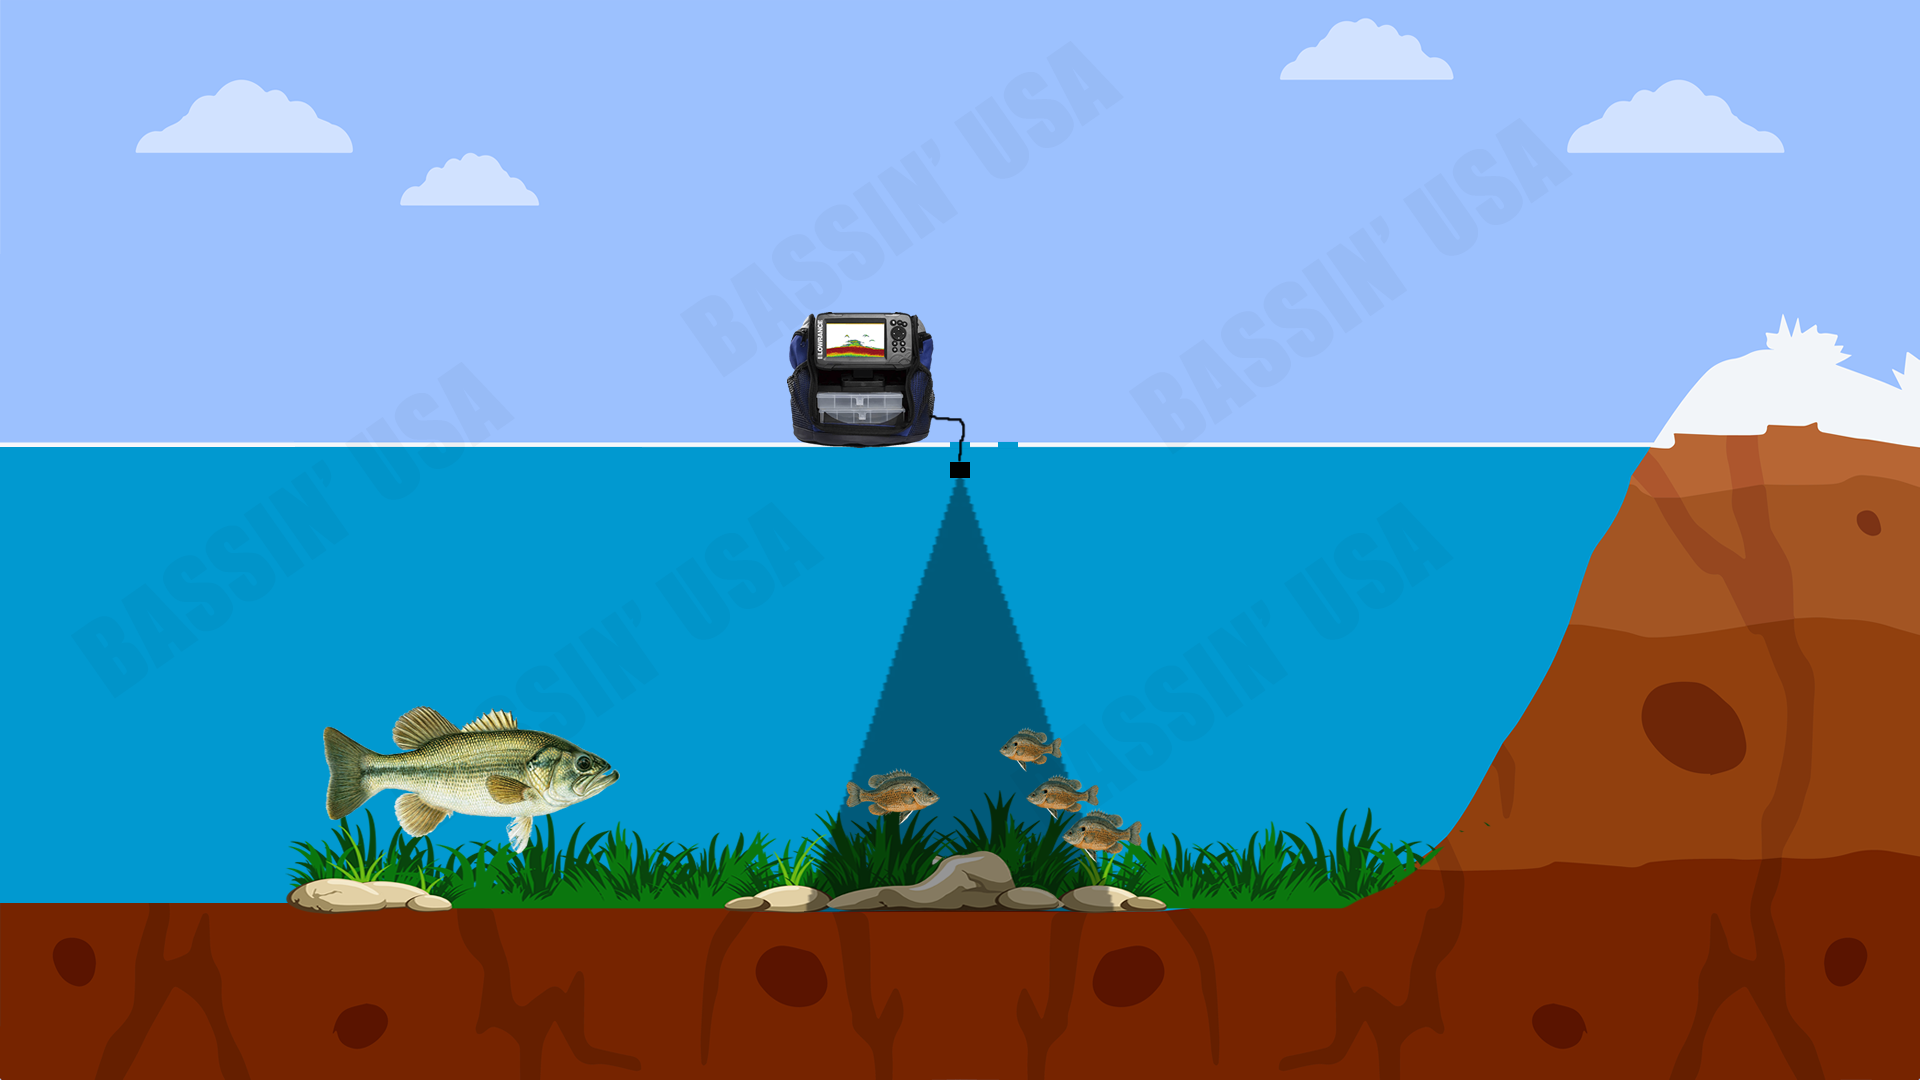
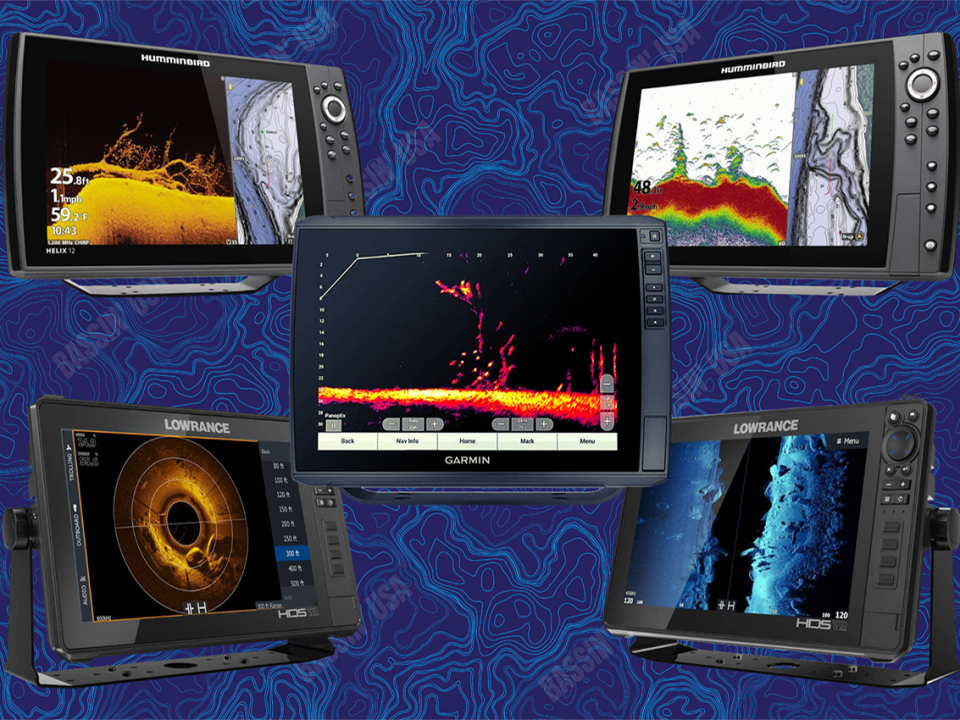
Portable sonar units have been a part of ice fishing since the invention of the first flasher units. Using a sonar unit while ice fishing can be a really helpful tool for finding and catching fish. To use a sonar unit while ice fishing, you'll need to drill a second hole next to the hole you're jigging through. This hole will be used to deploy the sonar transducer.
To use a sonar unit while ice fishing, follow these steps:
- Set up your ice fishing gear as usual, including your rod, reel, and jig.
- Drill a second hole next to the hole you're fishing through. This hole should be close enough to the first hole that you can easily reach it with your sonar transducer.
- Deploy your sonar transducer into the second hole, making sure it is fully submerged in the water.
- Turn on your sonar unit and adjust the settings as follows. Keep in mind that every brand unit may have slightly different names for each option, but they all have similar controls.
- Most units offer an “auto depth range”. You can choose to turn it ON, or you can adjust it manually to focus on the depth you’d like to focus on.
- Next, you need to adjust your “scroll rate/ping speed” to the highest setting. This will allow you to see what is happening as much more quickly.
- Lastly, you need to adjust your sensitivity. If the picture looks very clear, start turning up the sensitivity until you start to see some small dots forming on the screen. Then lower your jig/lure into the jigging hole and watch the screen. You should see a line descending towards the bottom. That’s your lure (not your line). Remember that your jig needs to be in the transducer cone to be visible. If your jig sank all the way to the bottom, reel up a few turns until you see it suspending off the bottom of the screen. Jig your rod tip up and down and you should be able to track you presentation now. You can adjust the gain up or down as needed, but usually works best if the screen has some clutter. More sensitivity means you’ll be able to really see the smaller stuff like baitfish!
Now you can watch your sonar unit and adjust your jigging technique and target specific areas or depths where fish are present. For example, if you see a fish on the sonar display, raise or lower you lure so it’s just above the fish. Then try softly jigging up and down just above the fish, and see if you can attract their attention. Experiment with different ranges of motion from small to large and let the fish show you what it’s interested in. Sometimes you’ll even get more strikes by just letting the jig suspend motionless, or even let it go all the way to the bottom and allow it to sit still.
In addition to helping you find and catch fish, a sonar unit can also be useful for identifying underwater cover such as rocks or brush-piles. By watching your jig/lure on the sonar screen you can keep your presentation close to the cover without snagging your lure.
Overall, using a sonar unit while ice fishing can be a powerful tool for increasing your success and enjoyment on the ice. With a little bit of practice and experimentation, you should be able to use your sonar unit to find and catch more fish, and have an even more enjoyable ice fishing experience.
In conclusion, ice fishing can be a rewarding and enjoyable way to spend a winter day, but it's important to prioritize safety and be prepared with the right gear and techniques. By following the tips in this article, you should be able to have a successful and enjoyable ice fishing trip. Whether you're targeting perch, crappie, panfish, bass, or another species, there are plenty of ways to find and catch fish under the ice. With a little bit of research, preparation, and experimentation, you should be able to find the best areas and techniques for each species and have a memorable ice fishing experience. So bundle up, grab your gear, and head out on the ice – you never know what you might catch!

