If you're looking to elevate your bass fishing game, particularly in cooler water conditions, the Damiki rig is an essential technique to add to your arsenal. Originating from South Korea, this method has become a game-changer in targeting suspended bass, especially with the advent of forward-facing sonar technology.
Mastering the Damiki Rig
The Damiki rig is fundamentally a vertical jigging technique. Its simplicity is deceptive; a soft plastic bait rigged on a lead head jig can be incredibly effective. The rig’s effectiveness lies in its subtle presentation it's perfect for those lethargic bass in cold waters. Your bait, designed to mimic a shad or similar baitfish, should hang almost motionless in the water column, enticing the bass to strike.
Selecting the Right Lures and Jig Heads
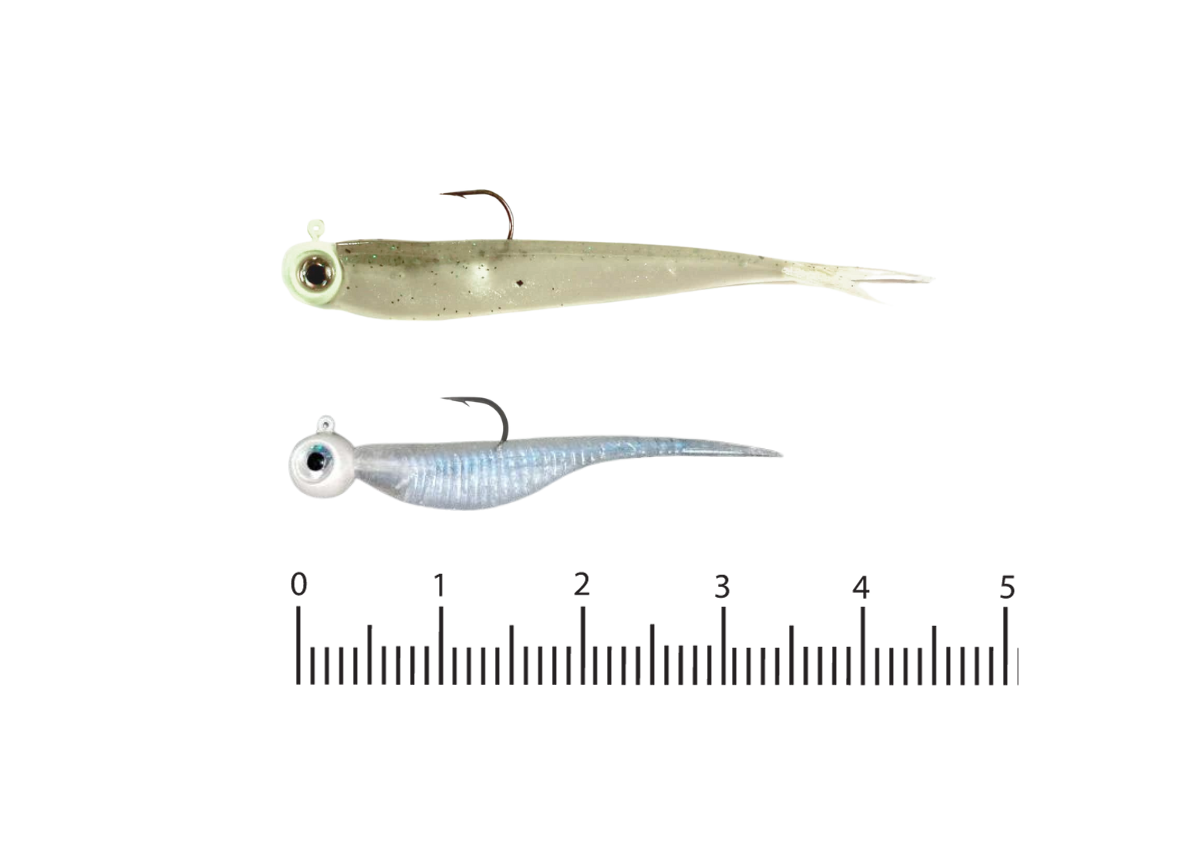
Choosing the right lure is crucial. Opt for soft plastic baits that closely resemble shad or other small baitfish, typically ranging from 3 to 5 inches. The most common baits are "fluke" or "soft plastic jerkbait" styles. Color is almost always "match the hatch"... or simply try to mimic the baitfish in that the bass are feeding on. Jig head style is often either a ball head, or baitfish style head, but almost always choose a head that has some type of eye on it, unless using a soft plastic that has an eye already. Most common Damiki rig heads have a fish eye on them. Jig head weight is equally important and often depends on depth and water conditions. The most effective weights for a Damiki Rig are usually 3/16 oz and 1/4 oz. The goal is to find a balance a weight that keeps your bait in the strike zone while allowing for a natural, slow descent. There are times when you may want to get your bait down quickly when vertical fishing the Damiki Rig and in those instances, you can go up to even a 1/2 oz jig head.
Ideal Rod, Reel, and Line Setup for the Damiki Rig
When it comes to setting up your gear for the Damiki rig, choosing the right rod, reel, and line combination is crucial for maximizing effectiveness.
Rod and Reel
Start with a medium-light to medium-action spinning rod. You're looking for a balance between sensitivity to feel the lightest bites and enough backbone to set the hook effectively. A rod length in the range of 6'6" to 7' is ideal. This length allows for precise control of your lure and is long enough for casting distance yet manageable for vertical jigging.
Pair your rod with a high-quality spinning reel. What you need is a reel with excellent line management capabilities to minimize twists and knots, which can be critical when fishing with lighter lines. A smooth drag system is also essential to handle the sudden runs of a hooked bass.
Line Setup
The line setup is where you can really tailor your gear to the Damiki rig. Many seasoned anglers are now opting for a combination of braided line with a fluorocarbon leader. Here's how to set it up:
Mainline: Start with a braided line in the 10-20 lb test range as your mainline. Braid has several advantages: it's incredibly strong for its diameter, offers great casting distance, and has virtually no stretch, which means you'll feel every tap and bump at the end of your line.
Leader: Attach a fluorocarbon leader in the 6-10 lb test range to the end of your braided line. The length of the leader can vary, but a good starting point is about 6-8 feet. Fluorocarbon is nearly invisible underwater, making it less likely to spook wary bass. It also has a bit of give, which can be crucial to prevent breaking off a fish during a hard fight, especially when using the no-stretch braid as your mainline.
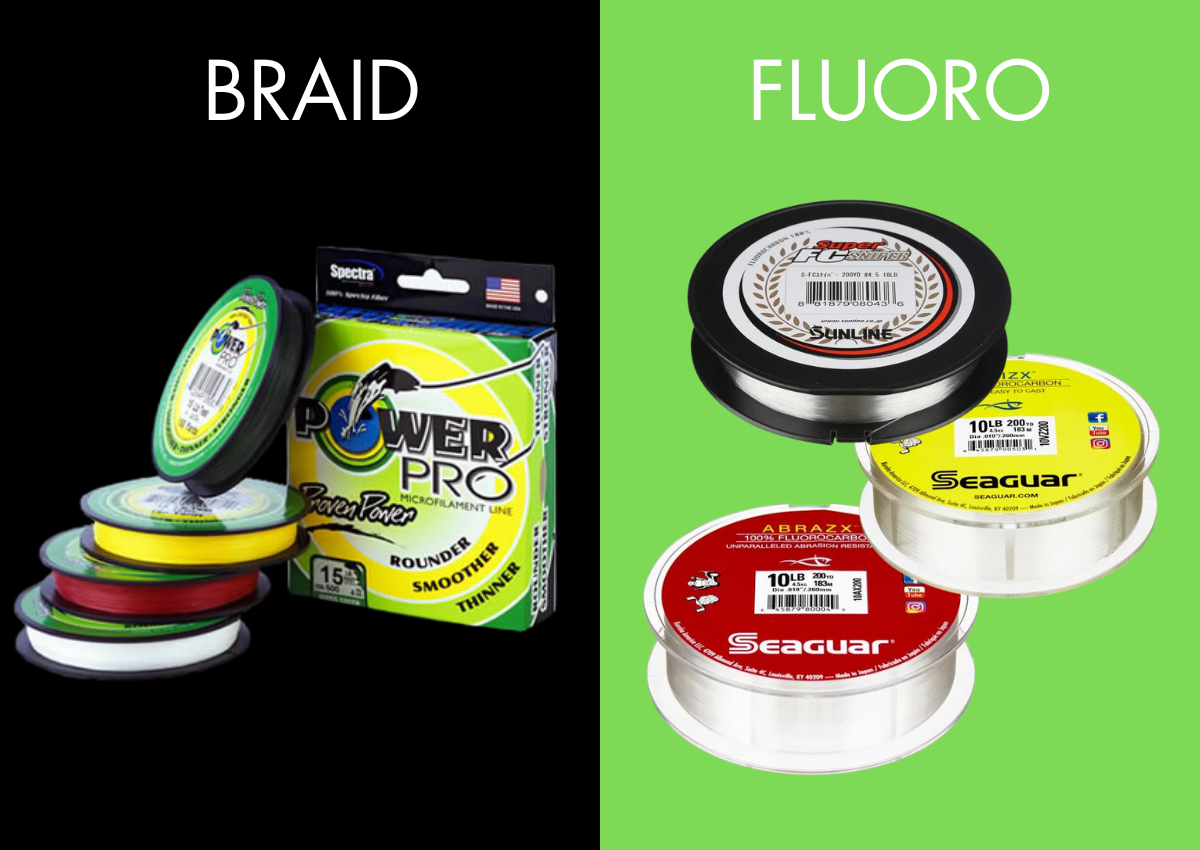
This combination offers the best of both worlds: the sensitivity and strength of braid with the stealth and abrasion resistance of fluorocarbon. The braided line allows you to feel even the slightest nibble, and the fluorocarbon leader ensures that once the fish bites, it won't get spooked or break the line easily.
When you set up your rod and reel with this line combination, you're equipping yourself with a versatile, sensitive, and strong system, perfect for mastering the finesse required in Damiki rig fishing.
Leveraging Forward-Facing Sonar Technology
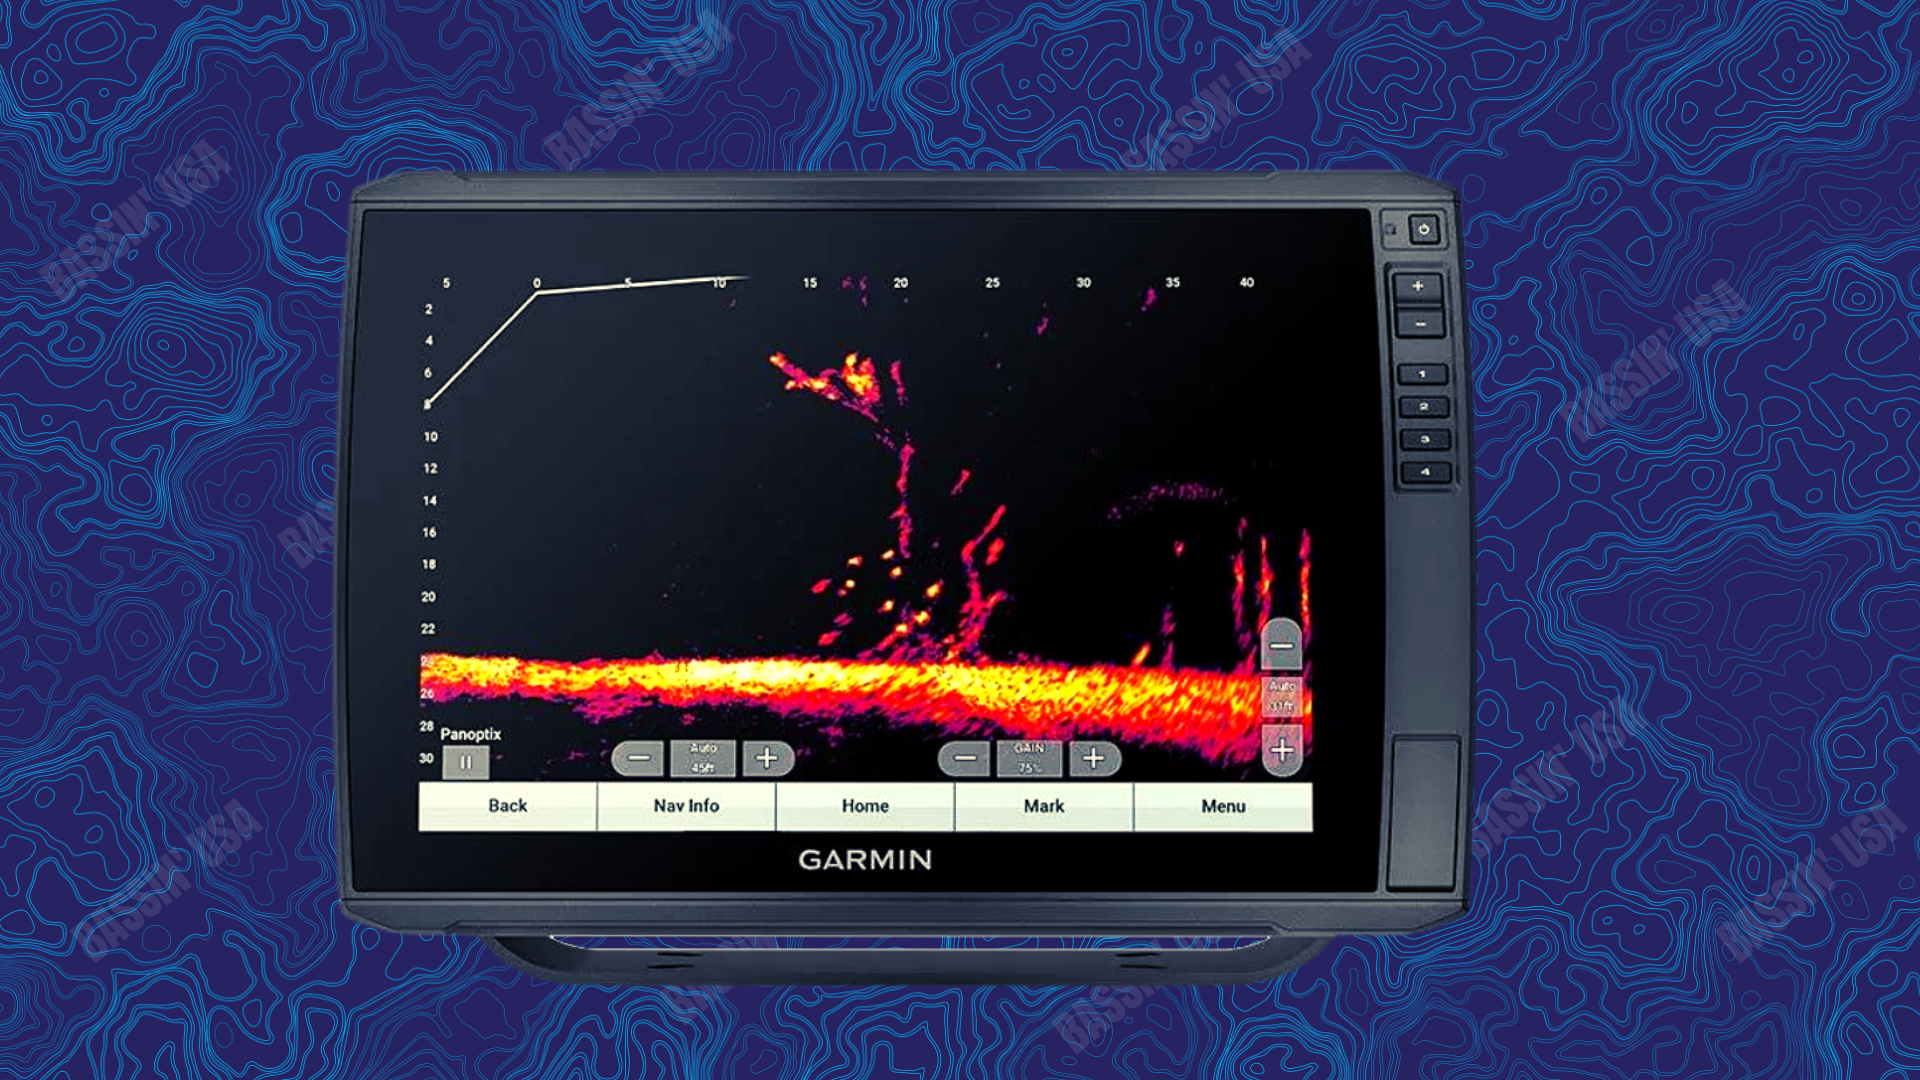
Forward-facing sonar, like Garmin Livescope or Lowrance ActiveTarget, has transformed how we use the Damiki rig. This technology allows you to watch your lure and the bass’s reaction in real time. It enables precise bait placement, allowing you to drop your rig right in front of the bass, significantly increasing your chances of a bite. It's a revolutionary advancement in finesse fishing, making the Damiki rig more effective than ever before.
Proper Presentation of the Damiki Rig for Effective Bass Fishing
To truly excel with the Damiki rig and ensure you're presenting it effectively to bass, whether you're fishing from a boat with state-of-the-art sonar or casting from the shore, understanding the technique of presentation is key.
The Technique
- Starting Position: Whether you're on a boat or shore, begin by locating areas where bass are likely to suspend, such as near drop-offs, deep points, or around submerged structures. In absence of forward-facing sonar, use your knowledge of the water body and seasonal patterns to guide you.
- Vertical Presentation: The Damiki rig shines in vertical jigging, especially from a boat. Drop your rig straight down into the water until it reaches the desired depth. This is where your braided line with a fluorocarbon leader is advantageous, as it offers the sensitivity to feel the lure touching the bottom or getting bites.
- Subtle Movements: Once your lure is at the desired depth, the key is in the minimalistic movement. Gently lift your rod tip to make the lure rise, then let it fall back down. This mimicking of a dying baitfish is what tempts the bass. The lure should mostly stay in place, with only slight movements.
- Casting from Shore: If you're fishing from the shore, cast out to your target area and let the rig sink. Once it hits bottom, use a slow retrieve with occasional pauses and subtle twitches. The idea is to keep the lure close to the bottom, imitating a foraging baitfish.
- Maintaining Contact: In both scenarios, maintaining a semi-taut line is crucial. You want to feel any slight change in pressure or twitch, indicating a bass has taken your lure.
- Setting the Hook: When you feel a bite, set the hook with a firm but not overly aggressive motion. The sharpness of the jig head and the finesse of the rig do most of the work.
Adapting to Conditions
The beauty of the Damiki rig is its versatility. Adjust your technique based on the conditions:
In Clear Water: Be more subtle with your movements, as bass can get a good look at the bait.
In Murky Water: Use a bit more action to create vibrations and get the bass's attention.
In Cold Water: Slow down your presentation. Bass are less active in cold water and will respond better to a lure that isn't moving too quickly.

Mastering the Damiki rig is about understanding the subtlety of its presentation. It's a finesse technique that requires patience and sensitivity to the lure's movements and the responses of the bass. Whether you're fishing with advanced sonar or casting from the shore, the Damiki rig can be a highly effective tool in your bass fishing arsenal. Remember, the key is to keep your movements minimal and maintain constant awareness of your lure's action and the feedback from the water

